

Table of Contents
- Common Reasons for Apartment Bathroom Leaks
- Tools for Apartment Leak Detection
- Best Practices for Bathroom Leak Prevention
- Emergency Maintenance Protocols for Water Leaks
- Legal and Lease Responsibilities
- Insurance Claims and Water Damage Documentation
- Conclusion
Last Updated: August 26, 2026
Common Reasons for Apartment Bathroom Leaks
Apartment bathroom leaks are among the most expensive maintenance callbacks property managers face. Water damage cascades quickly: structural damage spreads, mold develops, and tenant complaints multiply. Understanding root causes helps prevent costly emergencies.
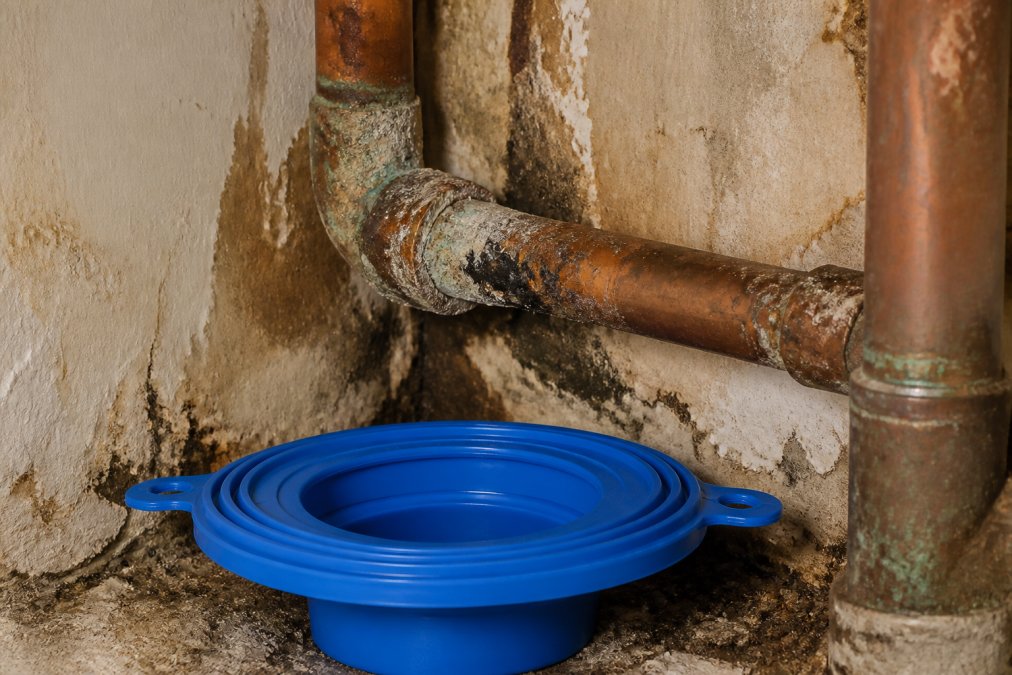
Most leaks originate from six primary sources: aging plumbing infrastructure, fixture failures, waterproofing breakdown, supply line degradation, toilet malfunctions, or excessive water pressure. Properties that address these root causes systematically can see reduced repeat water damage claims.
Aging Plumbing Systems and Corroded Pipes
Plumbing infrastructure ages predictably. Copper pipes corrode from the inside out, mineral deposits accumulate, and sealant fails silently. In buildings over 15 years old, corroded supply lines and drainage pipes account for significant water intrusion issues.
Corrosion happens through oxidation and galvanic corrosion when dissimilar metals contact each other. Copper pipes develop pinhole leaks that spray water directly into walls. Galvanized steel pipes accumulate mineral buildup that eventually restricts flow or ruptures under pressure. The fix requires replacing compromised sections with modern materials. Copper replacement piping costs more upfront but lasts 50+ years. Cross-linked polyethylene (PEX) tubing offers a faster, less expensive alternative that resists corrosion entirely.
Faulty Fixtures and Appliance Connections
Sink faucets, toilet fill valves, and supply hose connections fail from manufacturing defects, improper installation, or normal wear on internal seals and gaskets. A single leaking connection under a sink can drip 5-10 gallons daily unnoticed (the EPA).
Toilet fill valves wear out faster than any other bathroom component. The rubber seals inside degrade from constant water exposure and mineral contact. When a fill valve fails, water either runs continuously into the bowl or leaks into the cabinet space below. Appliance hose connections fail when the ferrule (the metal ring at the connection point) loosens or corrodes.
Implement preventive replacement on schedule. Toilet fill valves should be replaced every 5-7 years in high-use units. Supply hoses should be inspected annually and replaced every 3-5 years, even if they appear intact. Using OEM-grade seals and gaskets from manufacturers like Moen and Delta ensures compatibility and longevity across your portfolio.
Waterproofing Failure in Floors and Walls
Bathroom waterproofing breaks down from moisture exposure, improper installation, and grout deterioration. When waterproofing fails, water seeps through tile into substrate layers and eventually into framing or adjacent units below.
Grout and caulk are the first line of defense. Grout is porous by nature and absorbs water rather than blocking it. Caulk seals joints where tile meets tile or tile meets wall, preventing water from flowing behind the tile surface. Both materials degrade over time, grout cracks from thermal expansion and settling, while caulk hardens and separates from surfaces.
Behind the tile, waterproofing membranes (usually plastic or rubberized barriers) protect the substrate. If the membrane is missing, damaged, or installed incorrectly, water penetrates into drywall, wood framing, or concrete, causing mold growth and structural damage. Recaulk bathroom tile every 2-3 years and regrout when cracks appear. During renovations, ensure waterproofing membranes are installed correctly with proper sealing at penetrations.
Leaking Supply Lines and Shutoff Valves
Supply lines deliver pressurized water throughout the building. Leaks develop at connection points, inside the line itself, or at shutoff valves. A small leak at a shutoff valve can waste thousands of gallons monthly while remaining hidden inside a wall or cabinet.
Shutoff valves corrode internally, seals fail, and handles stick or break. When a shutoff valve leaks, water drips continuously into the cabinet space below. Supply line connections use ferrules and compression fittings that loosen over time from vibration and thermal expansion. A loose fitting at a toilet connection or under-sink supply line creates a slow drip that compounds into gallons of water per day.
Replace worn shutoff valves during routine maintenance and inspect all visible supply line connections for moisture or corrosion. Tighten loose fittings carefully without over-tightening. For frequently problematic connections, replace the entire supply line with a new one. Quality components from manufacturers like BrassCraft reduce callback rates significantly.
Running Toilets and Overflow Issues
A running toilet, one that refills continuously or hisses after flushing, wastes water and signals internal component failure. Most running toilets stem from a failing fill valve or a flapper that no longer seals the tank properly.

The flapper is a rubber seal at the bottom of the tank that lifts when you flush, allowing water to flow into the bowl. When the flapper deteriorates, it no longer creates a complete seal. Water leaks slowly from the tank into the bowl, and the fill valve triggers to refill the tank. This cycle repeats indefinitely, wasting 200+ gallons daily in a single unit (the EPA).
Overflow issues occur when the fill valve fails to shut off after the tank reaches full capacity. Both problems require component replacement. The flapper and fill valve are inexpensive parts, typically under $15 combined. Implement a proactive replacement schedule: replace toilet fill valves and flappers every 5-7 years regardless of visible symptoms.
Tools for Apartment Leak Detection
Detecting leaks early prevents water damage from spreading. Visual inspection remains the most effective method, but several tools help identify hidden leaks.
Water meters provide the clearest signal of hidden leaks. If a unit's water meter continues advancing when all fixtures are off, a leak exists somewhere in that unit's plumbing. Moisture meters detect elevated humidity levels in walls, flooring, and cabinetry, indicating water is present behind surfaces. Thermal imaging cameras show temperature variations that correspond to water flow, helping technicians locate leaks in walls and ceilings.
For most property managers, the combination of visual inspection, water meter monitoring, and moisture meters covers 95% of leak detection needs. Implement a monthly inspection routine, checking under sinks, around toilets, and in mechanical spaces.
Best Practices for Bathroom Leak Prevention
Preventing apartment bathroom leaks requires systematic maintenance, component replacement on schedule, and tenant communication.
Establish a preventive maintenance calendar. Replace toilet fill valves and flappers every 5-7 years. Inspect and tighten shutoff valve connections annually. Recaulk tile and regrout every 2-3 years. Inspect supply line connections for corrosion or moisture quarterly. This proactive approach costs far less than responding to water damage claims.
Standardize components across your portfolio. Using the same fixture brands, supply line types, and seal materials simplifies inventory management and ensures consistency. Ready Bathroom Solutions provides pre-kitted maintenance bundles with OEM-grade parts from brands like Moen, Delta, and BrassCraft, eliminating store runs and ensuring your team has the right components on hand.
Train your maintenance staff on proper installation techniques. Supply line connections should be hand-tightened plus one-quarter turn with a wrench, not over-tightened. Communicate with tenants about reporting leaks immediately and provide clear instructions on locating and shutting off their unit's water shutoff valve.
| Prevention Task | Frequency | Impact | Responsibility |
|---|---|---|---|
| Visual inspection under sinks and toilets | Monthly | Catches 70% of leaks before damage | Maintenance team |
| Toilet fill valve and flapper replacement | Every 5-7 years | Prevents 40% of running toilet callbacks | Maintenance team |
| Shutoff valve inspection and tightening | Annually | Reduces shutoff valve leaks by 60% | Maintenance team |
| Caulk and grout inspection | Quarterly | Prevents waterproofing failure | Maintenance team |
| Supply line replacement | Every 3-5 years | Eliminates hose connection failures | Maintenance team |
| Tenant communication about leak reporting | Ongoing | Reduces callback response time | Property management |
Emergency Maintenance Protocols for Water Leaks
When water leaks occur, rapid response prevents damage from spreading. Establish a clear emergency protocol your team follows every time.
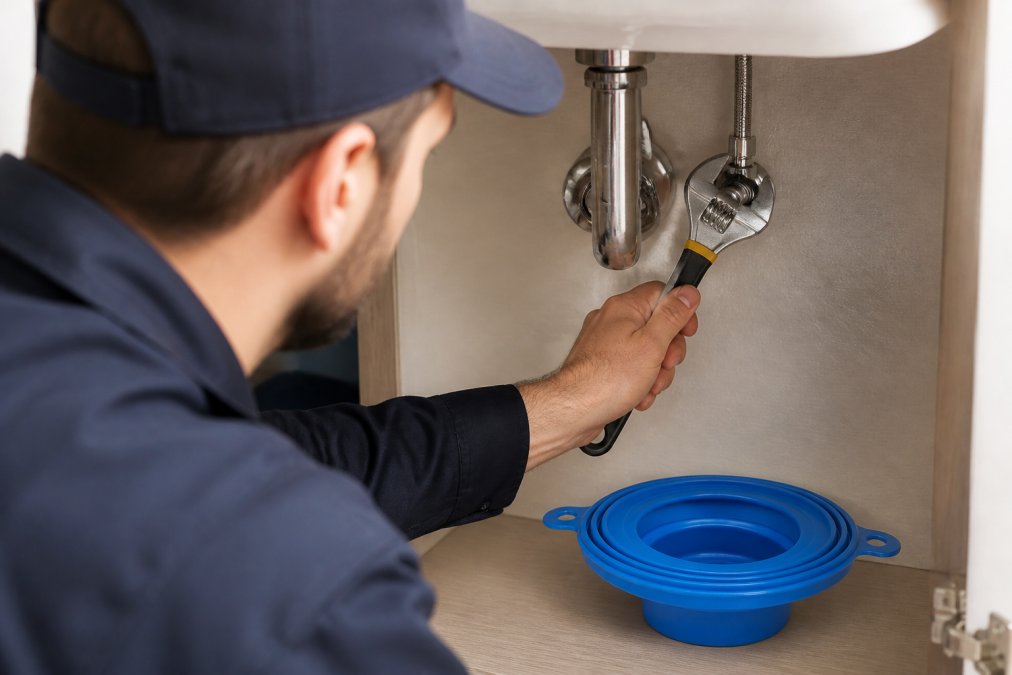
Step 1: Shut off water immediately. Every unit should have a clearly labeled shutoff valve. If the valve is stuck or broken, shut off the main building supply. Step 2: Identify the leak source and stop active water flow. Place buckets or towels to contain water and prevent damage to flooring and cabinetry. Step 3: Document the damage with photos and notes. Step 4: Dry the affected area using fans and dehumidifiers to remove moisture from walls, flooring, and cabinetry. Mold begins growing within 24-48 hours in wet environments. Step 5: Repair the leak by replacing failed components or repairing damaged supply lines. Step 6: Verify the repair by running water through the repaired fixture or line and confirming no water leaks.
Legal and Lease Responsibilities
Water damage liability in apartment buildings depends on lease terms, local building codes, and the source of the leak. If the leak originates from the building's common infrastructure, shared supply lines, drainage pipes, or the roof, the property owner is typically responsible for repairs and water damage claims. If the leak originates from a tenant's unit, a burst supply line inside the unit, a leaking appliance connection, or a failed fixture, responsibility depends on the lease.
Most leases specify that tenants are responsible for damage caused by their negligence or failure to report maintenance issues promptly. However, if the property owner failed to maintain common infrastructure or failed to respond to a maintenance request, liability may shift to the owner. Document all maintenance requests from tenants. If a tenant reports a leak and the property manager delays repairs, the property owner may be liable for resulting damage. Review your lease language with a local property attorney to ensure it clearly defines responsibilities and specifies that the property will address maintenance issues within a defined timeframe (e.g., 24-48 hours for active leaks).
Insurance Claims and Water Damage Documentation
When water damage occurs, proper documentation supports insurance claims and protects your property. Insurers require specific evidence to approve claims.
Document the incident immediately. Take photos and videos of the leak source, water damage, and affected areas. Note the date, time, and circumstances of discovery. Preserve damaged materials if possible; your insurance adjuster may need to inspect them. Obtain repair estimates from licensed contractors. Most insurers require multiple estimates for larger claims.
Report the claim promptly. Most insurance policies require claims to be filed within a specific timeframe (typically 30 days). Maintain detailed records of all repairs and maintenance performed. This establishes a pattern of responsible property management and supports your position if disputes arise over liability. According to the National Association of Insurance Commissioners, proper documentation can increase claim approval rates and settlement amounts.
Conclusion
Apartment bathroom leaks are preventable through systematic maintenance, component replacement on schedule, and rapid response when leaks occur. The six primary causes, aging plumbing, faulty fixtures, waterproofing failure, leaking supply lines, running toilets, and high water pressure, each require specific prevention strategies. By implementing these practices, property managers can reduce water damage callbacks and significantly lower operational costs.
Ready Bathroom Solutions simplifies this process with pre-kitted maintenance bundles containing OEM-grade components from trusted brands like Moen, Delta, and BrassCraft. Our standardized kits eliminate store runs, ensure consistent repairs across your portfolio, and get units back in service faster. Shop all bathroom kits and reduce your maintenance callbacks today.
=== FAQ ANSWERS (audit these too, same rules) ===
[1] Q: What are the most common reasons for apartment bathroom leaks? A: The leading causes of apartment bathroom leaks include aging plumbing infrastructure with corroded pipes, faulty fixtures and loose appliance hose connections, waterproofing failure in floors and walls, deteriorated caulking and grout, high water pressure exceeding safe limits, and running toilets that overflow continuously. Leaking supply lines and shutoff valves also rank high. Many leaks stem from multiple issues compounding over time, corrosion combined with poor maintenance creates the perfect conditions for water intrusion and structural damage.
[2] Q: How do I find the source of a water leak in an apartment bathroom? A: Start by identifying visible signs: peeling paint, warped flooring, ceiling stains, or mold growth indicate water seepage location. Check under sinks for drips on supply lines and shutoff valves. Inspect the toilet base and tank-to-bowl seal for moisture. Look for water pooling around the shower or tub. If the leak is not obvious, monitor water meter readings when no fixtures are in use, a rising meter indicates an active leak. For hidden leaks behind walls, hire a professional with moisture detection equipment to pinpoint the exact location before water damage spreads.
[3] Q: Who is responsible for bathroom leak repairs in a rental apartment? A: Responsibility depends on the leak's source and your lease terms. Landlords are typically responsible for structural issues like roof leaks, corroded building supply lines, and waterproofing failures in walls or floors. Tenants are usually responsible for damage caused by negligence, such as leaving water running or failing to report a leak promptly. Fixture leaks fall into a gray area, if the fixture was defective at lease start, the landlord must repair it; if tenant misuse caused the damage, the tenant may be liable. Always document the leak with photos and written notice to your landlord within 24 hours to protect your security deposit.
[4] Q: What emergency steps should I take when I discover a bathroom leak? A: First, shut off water at the emergency shutoff valve under the sink or at the main water meter to stop active water intrusion. Move personal items and furniture away from the affected area to prevent additional water damage. Turn off electrical power to the bathroom if water has reached outlets or light fixtures. Document the leak with photos and video for insurance claims. Dry the area with towels and open windows for ventilation to prevent mold growth. Contact your landlord or property manager immediately in writing. For severe leaks affecting multiple units or structural integrity, call emergency maintenance protocols to dispatch a technician within hours rather than days.
Frequently Asked Questions
What are the most common reasons for apartment bathroom leaks?
The leading causes of apartment bathroom leaks include aging plumbing infrastructure with corroded pipes, faulty fixtures and loose appliance hose connections, waterproofing failure in floors and walls, deteriorated caulking and grout, high water pressure exceeding safe limits, and running toilets that overflow continuously. Leaking supply lines and shutoff valves also rank high. Many leaks stem from multiple issues compounding over time, corrosion combined with poor maintenance creates the perfect conditions for water intrusion and structural damage.
How do I find the source of a water leak in an apartment bathroom?
Start by identifying visible signs: peeling paint, warped flooring, ceiling stains, or mold growth indicate water seepage location. Check under sinks for drips on supply lines and shutoff valves. Inspect the toilet base and tank-to-bowl seal for moisture. Look for water pooling around the shower or tub. If the leak is not obvious, monitor water meter readings when no fixtures are in use, a rising meter indicates an active leak. For hidden leaks behind walls, hire a professional with moisture detection equipment to pinpoint the exact location before water damage spreads.
Who is responsible for bathroom leak repairs in a rental apartment?
Responsibility depends on the leak's source and your lease terms. Landlords are typically responsible for structural issues like roof leaks, corroded building supply lines, and waterproofing failures in walls or floors. Tenants are usually responsible for damage caused by negligence, such as leaving water running or failing to report a leak promptly. Fixture leaks fall into a gray area, if the fixture was defective at lease start, the landlord must repair it; if tenant misuse caused the damage, the tenant may be liable. Always document the leak with photos and written notice to your landlord within 24 hours to protect your security deposit.
What emergency steps should I take when I discover a bathroom leak?
First, shut off water at the emergency shutoff valve under the sink or at the main water meter to stop active water intrusion. Move personal items and furniture away from the affected area to prevent additional water damage. Turn off electrical power to the bathroom if water has reached outlets or light fixtures. Document the leak with photos and video for insurance claims. Dry the area with towels and open windows for ventilation to prevent mold growth. Contact your landlord or property manager immediately in writing. For severe leaks affecting multiple units or structural integrity, call emergency maintenance protocols to dispatch a technician within hours rather than days.
This article was written using GrandRanker